Video
Step 1
You need to register and login to the developers account on UPS.com using this link
You also can get there using the link in the footer middle column on the main site ups.com
Step 2
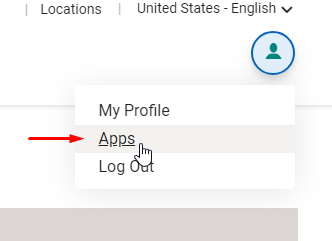
select "Apps" in the top right corner"
Step 3
klick on "Add Apps" and fill the form in the first step. Select your existing customer.
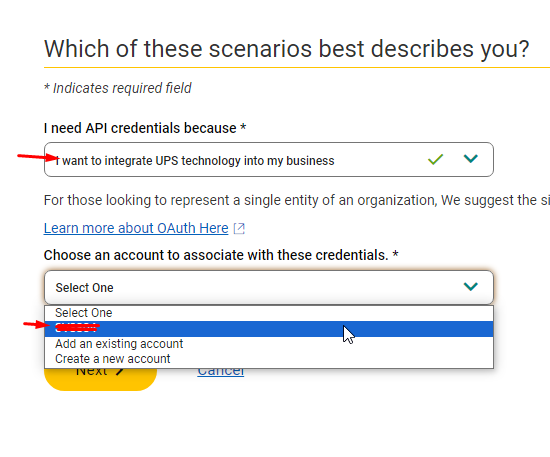
than fill in your location and click next. Please remember, this information cannot be undone, so fill everything in correctly.
Step 4
in the next step, you can customize your UPS services you want to perform in your Prestashop. Select as following
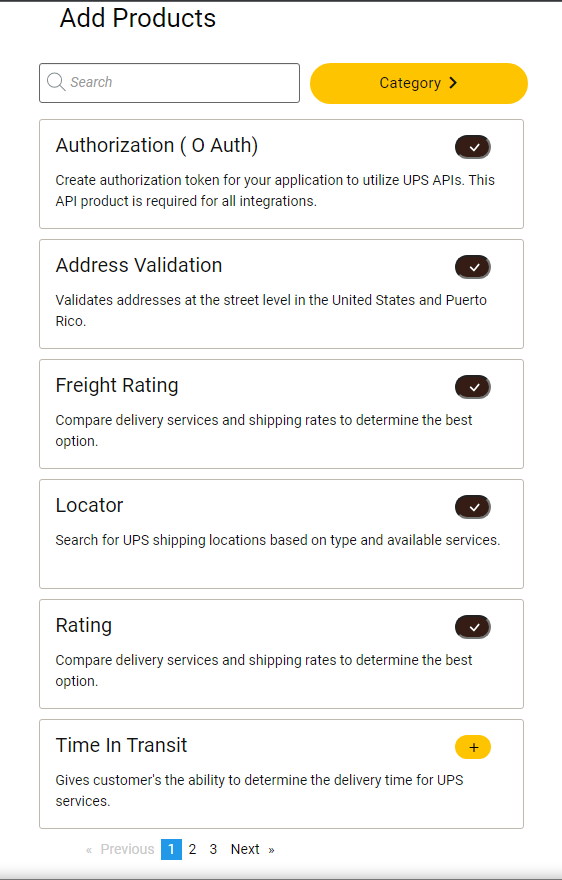


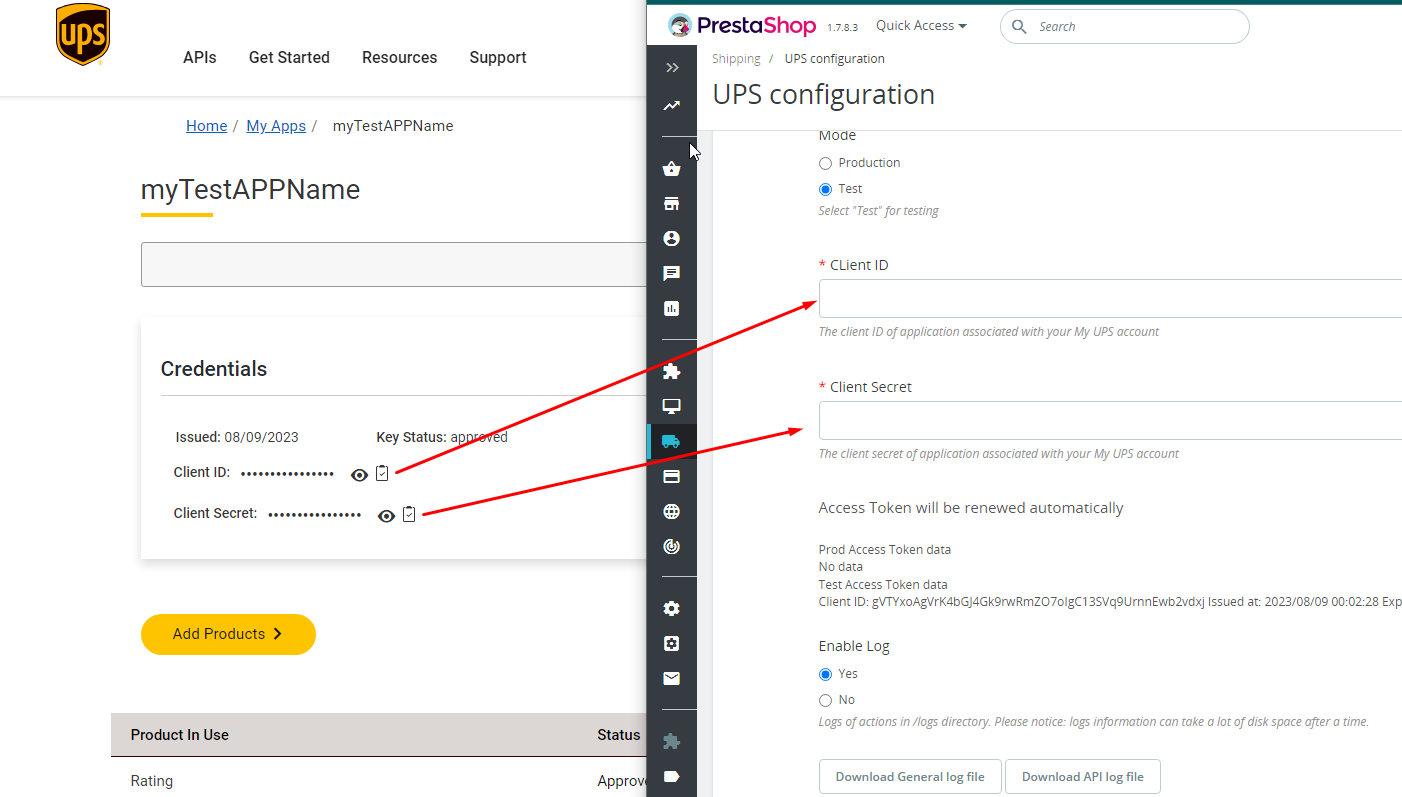
That's all. When you save your settings, you immediately will be provided with your Client ID and your Secret Key.
Step 5
Those are strings you need to fill in your PrestaShop UPS Configuration account.